Is a Raspberry Pi Good Enough for a Web Server?
So, you’re thinking about turning that tiny Raspberry Pi sitting on your desk into a web server? It’s a cool idea—taking a credit-card-sized computer and using it to host your blog, portfolio, or maybe even a small online store. But the big question is: Is a Raspberry Pi good enough for a web server? I mean, it’s not exactly a powerhouse like those beefy servers in data centers, right? Well, let’s dive in and figure out if this little gadget can handle the job. Spoiler alert: it might surprise you!
In this article, we’ll break down what makes a Raspberry Pi a contender for hosting a website, explore its strengths and limitations, and walk you through the practical stuff—like setting it up and keeping it secure. Whether you’re a hobbyist looking to save some cash or just curious about what this mini-computer can do, we’ve got you covered with all the details you need to decide if a Raspberry Pi is up to the task.
Why Consider a Raspberry Pi for a Web Server?
Let’s start with the obvious: a Raspberry Pi is cheap. Like, really cheap. For about $35 to $70, you can grab a Raspberry Pi 4 or 5, which are the go-to models for most web server projects. Compare that to paying $100 or more a year for a basic web hosting plan, and it’s easy to see why people are tempted to try this at home. Plus, it’s kind of fun to tinker with, isn’t it? There’s something satisfying about building your own server from scratch. You can even set up a VPN on a Raspberry Pi.
But cost isn’t the only reason people love using a Raspberry Pi as a web server. These little boards are super energy-efficient, sipping just 2–4 watts of power when idling, compared to a laptop that might guzzle 30–200 watts. If you’re eco-conscious or just want to keep your electricity bill in check, that’s a big win. And because they’re so compact, you can tuck a Raspberry Pi into a corner of your room without it taking over your space.
Another perk? You get total control. When you host a website on a Raspberry Pi, you’re the boss. No web hosting company telling you what you can or can’t do. Want to tweak the server settings or install a specific software? Go for it. For hobbyists or anyone learning about web development, this hands-on experience is gold. It’s like learning to cook by making your own pizza instead of ordering takeout—you figure out how everything works.
That said, a Raspberry Pi isn’t a magic bullet. It’s a low-powered device, so it’s best suited for small, low-traffic websites—like a personal blog, a portfolio, or a local business site. If you’re dreaming of hosting the next Netflix, well, you might want to pump the brakes. Let’s dig into what a Raspberry Pi can realistically handle.
What Can a Raspberry Pi Handle as a Web Server?
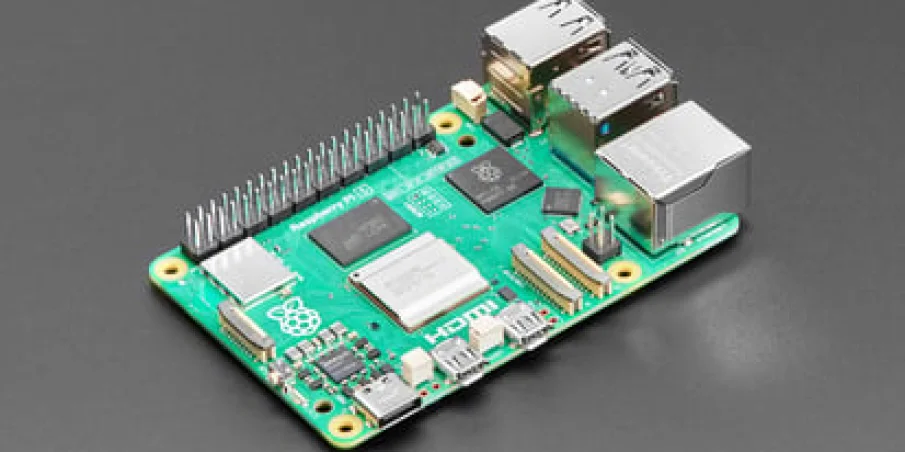
Alright, let’s get real about the Raspberry Pi’s capabilities. The newer models, like the Raspberry Pi 4 and 5, come with some decent specs for their size. For example, the Pi 4 has a quad-core ARM Cortex-A72 CPU and up to 8GB of RAM, while the Pi 5 bumps things up with a faster processor and better connectivity. That’s not bad for a device you can hold in your hand! But how does that translate to running a web server?
For static websites—think simple HTML pages with basic web design and maybe a few images—a Raspberry Pi is a champ. Static sites don’t need much processing power because the server just sends pre-made files to the visitor’s browser. Tests have shown that a Raspberry Pi 3 can serve up to 100 static pages per second, which is plenty for a personal site with a handful of visitors at a time. The Pi 4 and 5 are even snappier, so you’re in good shape for basic sites.
Dynamic websites, like those running WordPress or other content management systems (CMS), are a bit trickier. These sites generate pages on the fly, which means more work for the Pi’s CPU and RAM. A Raspberry Pi can handle a simple WordPress blog with a default theme and a couple of plugins, especially if you use caching tools like WP Super Cache to reduce the load. For example, a Pi 3B once powered the Raspberry Pi Foundation’s blog for a day, serving 1.2 million page requests with caching in place. That’s impressive! But for a typical personal blog with 100–200 visitors a day, a Pi 4 or 5 should be fine as long as you keep things lean.
What about more complex setups, like a site with videos or a web app? Here’s where things get dicey. Serving large media files, like videos, can choke a Pi because it’s limited by its storage speed and network bandwidth. If you’re hosting at home, your internet upload speed (often 5–20 Mbps for residential plans) will be a bigger bottleneck than the Pi itself. And web apps with heavy backend processing—like a site using Django, Redis, and PostgreSQL—can push a Pi to its limits, especially if multiple users are hitting it at once. For those, you might need a beefier setup or a cloud server.
So, the short version? A Raspberry Pi is great for lightweight websites with low to moderate traffic. If your site is simple or you’re just testing a project, it’s more than good enough. But if you’re expecting thousands of visitors or running a resource-hungry app, you might need to look elsewhere.
Setting Up a Raspberry Pi as a Web Server
Ready to give it a try? Setting up a Raspberry Pi as a web server is easier than you might think, even if you’re not a tech wizard. Let’s walk through the basics to get you started. Don’t worry—we’ll keep it simple and skip the geeky jargon.
What You’ll Need
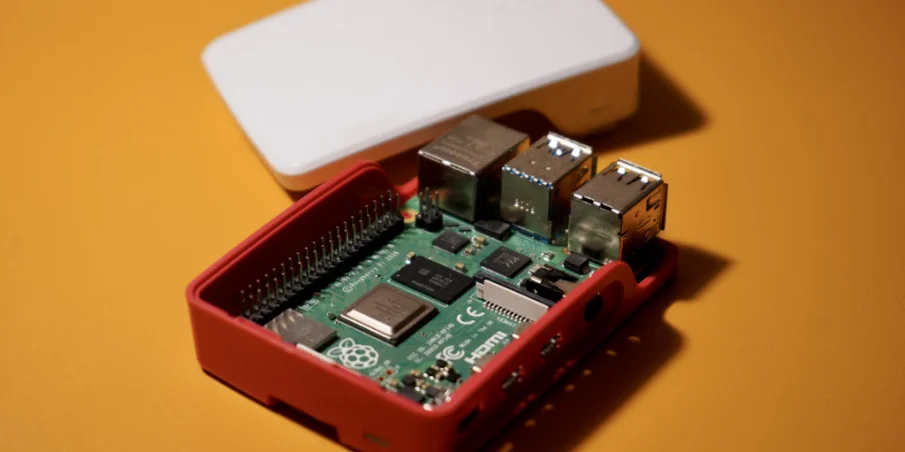
First, you’ll need a Raspberry Pi—ideally a Pi 4 or 5 with at least 4GB of RAM for smoother performance. You’ll also need a microSD card (16GB or larger, preferably high-quality to avoid corruption) or an SSD for storage. An SSD is faster and more reliable, which is great for a web server, but it’ll cost a bit more. Grab a power supply, an Ethernet cable (for a stable connection), and a case to keep your Pi safe. If you want to access your site from the internet, you’ll need a router you can configure and a domain name (optional but handy).
Installing the Operating System
Your Pi needs an operating system to run, and Raspberry Pi OS Lite (64-bit) is a solid choice for a web server because it’s lightweight and doesn’t include unnecessary extras like a desktop interface. Download the Raspberry Pi Imager tool from the official website, pop your microSD card into your computer, and use the tool to flash the OS onto the card. You can also enable SSH (a way to remotely control your Pi) and set a username and password during this step to make things easier later.
Once the OS is ready, insert the microSD card into your Pi, connect it to your router with an Ethernet cable, and power it up. If everything’s set up right, your Pi will boot up and connect to your network. To log in, you’ll need its IP address, which you can find on your router’s admin page (usually accessed by typing 192.168.1.1 into your browser). Use a tool like PuTTY (on Windows) or a terminal (on Mac/Linux) to SSH into your Pi. Type ssh [username]@[IP address], enter your password, and you’re in!
Installing Web Server Software
Now it’s time to install the software that’ll turn your Pi into a web server. The two most popular options are Apache and Nginx. Apache is beginner-friendly and works with tons of setups, like WordPress, thanks to its built-in support for dynamic content. Nginx is lighter and faster for static content, which is great if your Pi is resource-constrained. For a simple site, either will do, but let’s go with Apache for this example.
Log into your Pi via SSH and run these commands to install Apache:
sudo apt update
sudo apt install apache2
This updates your Pi’s software and installs Apache. To start the server, type:
sudo systemctl start apache2
sudo systemctl enable apache2
Now, open a browser on another computer on the same network and type your Pi’s IP address. If you see Apache’s default “It works!” page, congrats—your web server is live! You can replace the default files in /var/www/html with your own website files.
If you want to run WordPress or another CMS, you’ll also need to install PHP and a database like MySQL or MariaDB. For WordPress, run:
sudo apt install php libapache2-mod-php mysql-server php-mysql
Then follow a guide to set up WordPress, which involves creating a database and configuring the site. It’s a bit more involved, but there are tons of step-by-step tutorials online.
Making Your Site Accessible Online
So far, your website is only accessible on your home network. To make it available on the internet, you’ll need to set up port forwarding on your router. Log into your router’s admin page, find the “Port Forwarding” section, and forward ports 80 (HTTP) and 443 (HTTPS) to your Pi’s IP address. This tells your router to send web traffic to your Pi.
If your internet provider gives you a dynamic IP address (one that changes occasionally), you’ll need a service like No-IP or DuckDNS to keep your site accessible. These services let you assign a domain name (like mysite.duckdns.org) that updates automatically when your IP changes. You can also buy a proper domain name from a registrar like Namecheap and point it to your Pi using a dynamic DNS service.
One last thing: security. Since your Pi will be exposed to the internet, set up a firewall to block unwanted traffic. Use the ufw tool to allow only ports 80 and 443:
sudo ufw allow 80
sudo ufw allow 443
sudo ufw enable
Also, consider adding SSL/TLS encryption with Let’s Encrypt to make your site secure (and get that padlock icon in browsers). It’s free and straightforward to set up with tools like Certbot.
Strengths of Using a Raspberry Pi as a Web Server
Now that you know how to set one up, let’s talk about why a Raspberry Pi is a great choice for a web server. We’ve already mentioned the low cost and energy efficiency, but there’s more to love.
For starters, it’s a fantastic learning tool. Setting up a web server on a Pi teaches you about Linux, networking, and server management in a hands-on way. It’s like a mini crash course in web development, and you’ll come out knowing way more than you did before. Plus, because the Pi is so affordable, you can experiment without worrying about breaking the bank.
Another big plus is flexibility. A Raspberry Pi can run all sorts of web server software—Apache, Nginx, Node.js, you name it. You can host a static site, a WordPress blog, or even a lightweight web app, depending on your needs. And if you’re just testing a project, the Pi is perfect because you don’t have to worry about bandwidth limits or hosting fees.
Then there’s the environmental angle. If you’re running your Pi on renewable energy (like many households in Europe), you’re hosting your site in a greener way than some data centers that rely on fossil fuels. Plus, the shorter distance your data travels to nearby visitors can reduce your site’s carbon footprint. Who knew hosting a website could be eco-friendly?
Limitations to Keep in Mind
Of course, no solution is perfect, and the Raspberry Pi has its share of limitations as a web server. Let’s be honest—it’s not going to replace a professional hosting service for every use case. So, what are the downsides?
First, there’s the performance issue. A Raspberry Pi is powerful for its size, but it’s still a low-end device compared to even a basic cloud server. If your site gets a sudden spike in traffic—like, say, your blog post goes viral on social media—your Pi might struggle to keep up. Dynamic sites with heavy processing or large media files can slow things down, especially if your storage or internet connection isn’t top-notch.
Speaking of storage, microSD cards are a weak point. They’re prone to corruption if you’re constantly writing data, like with a WordPress site that updates frequently. An SSD is a better choice, but it adds to the cost and setup complexity. And if you’re hosting at home, your internet connection’s upload speed will limit how fast your site loads for visitors. Most home connections aren’t built for serving websites, so you might see lag compared to a commercial host.
Security is another concern. Exposing your Pi to the internet makes it a target for hackers, and securing it takes some know-how. You’ll need to configure a firewall, keep software updated, and maybe even set up intrusion detection. If you’re not comfortable with that, a managed hosting service might be less stressful. And if your Pi gets compromised, it could give attackers a foothold into your home network—not a fun thought.
Finally, there’s reliability. Power outages, internet hiccups, or hardware failures can take your site offline. Unlike commercial hosts that guarantee 99.99% uptime, a home server depends on your setup. You’ll need to plan for backups and maybe set up a UPS (uninterruptible power supply) to keep your Pi running during outages. It’s doable, but it’s extra work.
Tips for Optimizing Your Raspberry Pi Web Server
Want to get the most out of your Raspberry Pi web server? Here are some practical tips to keep it running smoothly and efficiently.
First, optimize your website. For dynamic sites like WordPress, use caching plugins to serve static versions of pages whenever possible. This reduces the load on your Pi’s CPU. Keep your site lightweight by avoiding bloated themes or unnecessary plugins. If you’re building a static site, tools like Jekyll or Hugo are perfect because they generate simple HTML files that the Pi can serve lightning-fast.
Next, upgrade your storage. If you can swing it, swap the microSD card for an SSD. It’s faster and less likely to fail, which means better performance and fewer headaches. Just make sure to use a USB-to-SATA adapter and enable TRIM to keep the SSD in good shape.
Monitor your Pi’s performance with tools like htop or netdata. These let you see how much CPU, RAM, and network bandwidth your server is using, so you can spot bottlenecks before they cause trouble. If you notice your Pi struggling, consider disabling unnecessary services or background processes to free up resources.
For security, stay on top of updates. Run sudo apt update && sudo apt upgrade regularly to patch vulnerabilities. Set up automatic backups to an external drive or cloud service so you don’t lose your site if something goes wrong. And if you’re exposing your Pi to the internet, use strong passwords, disable password-based SSH, and consider a service like Fail2Ban to block suspicious login attempts.
Finally, test your site’s performance with tools like GTmetrix or Pingdom. These show you how fast your pages load and where you can improve. If your site feels sluggish, check your internet upload speed or try optimizing images to reduce file sizes. A little tweaking can go a long way.
Is It Worth It?
So, is a Raspberry Pi good enough for a web server? For the right use case, absolutely. According to tech experts who write for us, If you’re hosting a small, low-traffic site—like a personal blog, portfolio, or test project—a Raspberry Pi is a fantastic, budget-friendly option. It’s cheap, energy-efficient, and gives you full control, plus it’s a great way to learn about servers and web hosting. With a Pi 4 or 5, you’ve got enough power to handle static sites or even a lightweight WordPress setup, as long as you keep things optimized.
That said, it’s not for everyone. If you need high performance, expect heavy traffic, or don’t want to deal with security and maintenance, a traditional hosting service might be a better fit. The Pi’s limitations—like its modest processing power and reliance on your home internet—mean it’s best for hobbyists or small-scale projects. Weigh your needs, and you’ll know if it’s the right choice for you.
More to Read:


Previous Posts: